Learn how to replace damaged deck boards safely with our expert guidance. Ensure your decking remains safe, durable, and beautiful all year round.
Signs a Deck Board Needs Replacing
Spotting when a deck board has reached the end of its lifespan can help you keep the rest of your decking safe and looking good. If a board gives way when you step on it, or if a screwdriver sinks into the grain easily, it’s highly likely that the board is rotten.
Rotten wood won’t be able to hold any fixings, and it should be swapped out as soon as possible. Additionally, a board that rides up at the edges, arches between the joists, or corkscrews can become a trip hazard that traps water, and it should be replaced as well.
Dark stains at the end grain, white or black fungal threads, musty smells, and crumbling edges are classic signs of decay. Decay can spread and rot the deck boards, joists, timber and posts, which can cause the decking to collapse entirely if the decayed wood isn't replaced. Swollen edges, cap-stock delamination, or “mushrooming” around screws are also signs of structural or moisture problems.
Removing the Damaged Deck Board
When removing damaged decking boards, the first thing you need to do is clear away any furniture and planters. You should wear cut-resistant gloves, eye protection, ear protection (for power tools) and a dust mask. If the deck has lighting or sockets, you should shut off or isolate the power. On raised decks, the edges should be cordoned off using temporary guarding.
Screws should be backed out using an impact driver with a screw extractor, and the boards should be loosened enough to reach and remove any hidden clips and clip screws from the joist. A reciprocating saw with a metal-cutting blade should then be placed between the board and joist to cut the screws and nails from the boards so that they're easier to lift and separate.

The circular saw depth should be set to just under the board's thickness, and one or two lengthwise cuts should be made down the damaged board, between the joists, to relieve any tension.
You should ideally stop cutting near the end joists and finish off with a handsaw or a multi-tool so that you don’t damage the framing.
You can then lift up the decking in sections. You should start lifting near a joist and pry the boards up using a flat bar over a sacrificial block. Any remaining fasteners should be pulled up from the joists, and any debris or rot should be scraped off.
You can then safely prepare the site for the new decking and tidy up the remaining timber. Sharp offcuts and fasteners should be bagged up, and the area should be swept so that it can stay clean and tidy before the new boards are installed.
Preparing the Area for the New Board
Preparing the deck properly ensures that the new boards will last and that your decking will stay safe and durable. After the damaged boards have been removed, you should vacuum up any metal swarf and splinters and pull or flush-cut any remaining fasteners so that they can’t interfere with the new fixings. You should then brush the frame clean so that you can see any issues or structural defects clearly.
You can then inspect the substructure, probe the joists and blocking for softness, dark stains, or fungal strands and replace the timber accordingly. You should then check the post connections and ensure the frame is firmly braced and can drain water away from the decking. The timber should then be treated and left out to dry. Additionally, there should be at least 150 mm of space beneath the decking so that there's adequate airflow.
Installing the Replacement Deck Board
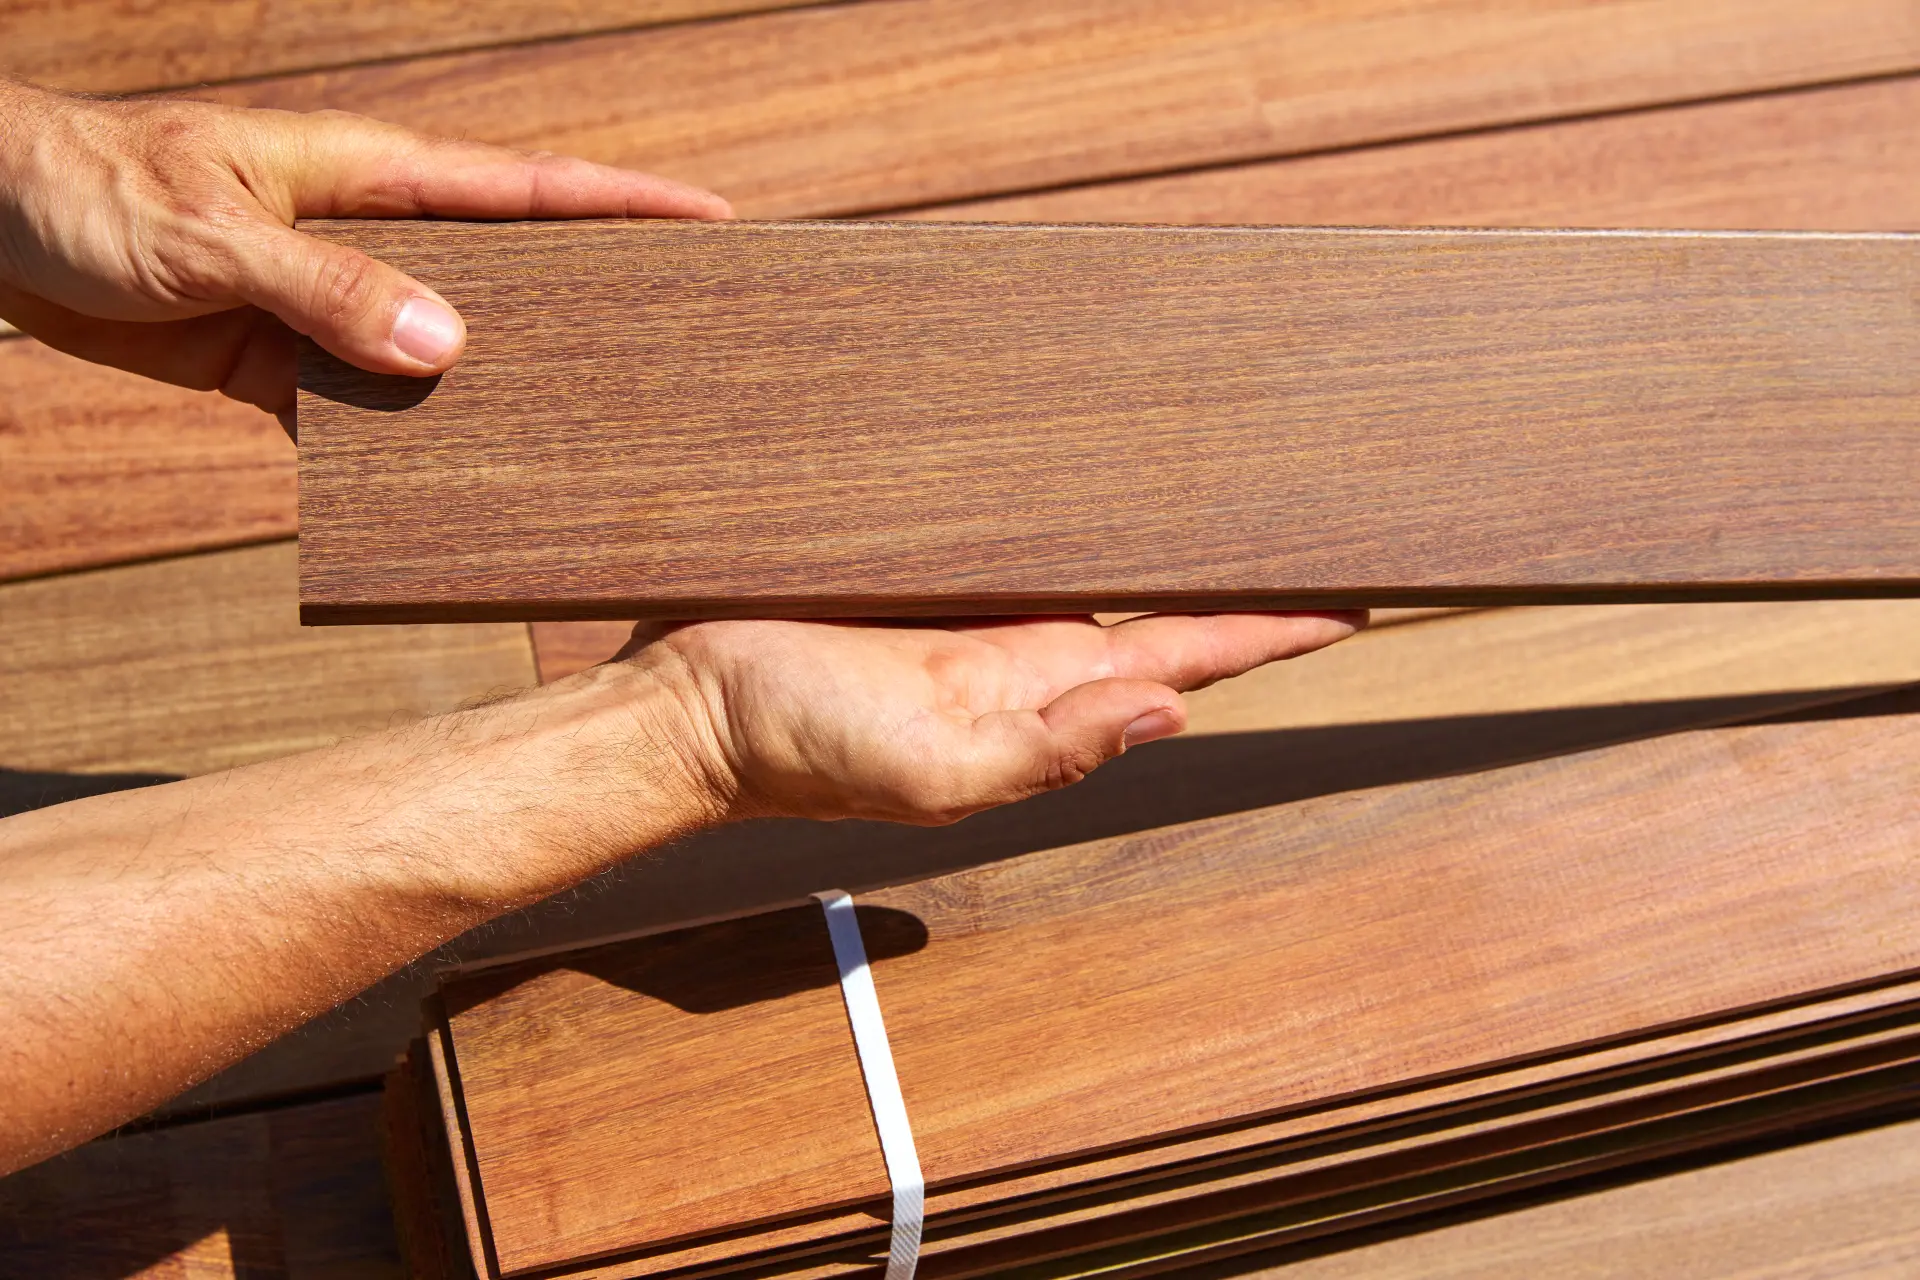
Once the damaged board has been removed and the frame has been prepared, you should select and prepare the new board. It's best to use pressure-treated timber that's designed for outdoor use (UC3 for above-ground, UC4 for ground contact) or the same type of composite decking that's already in place.
For timber, it's ideal to let the board acclimatise on site for roughly 24-48 hours beforehand and ensure it's stacked with spacers to prevent it from warping. If you're cutting the boards to a specific length, any end-grain should be sealed with a preservative before it's installed.
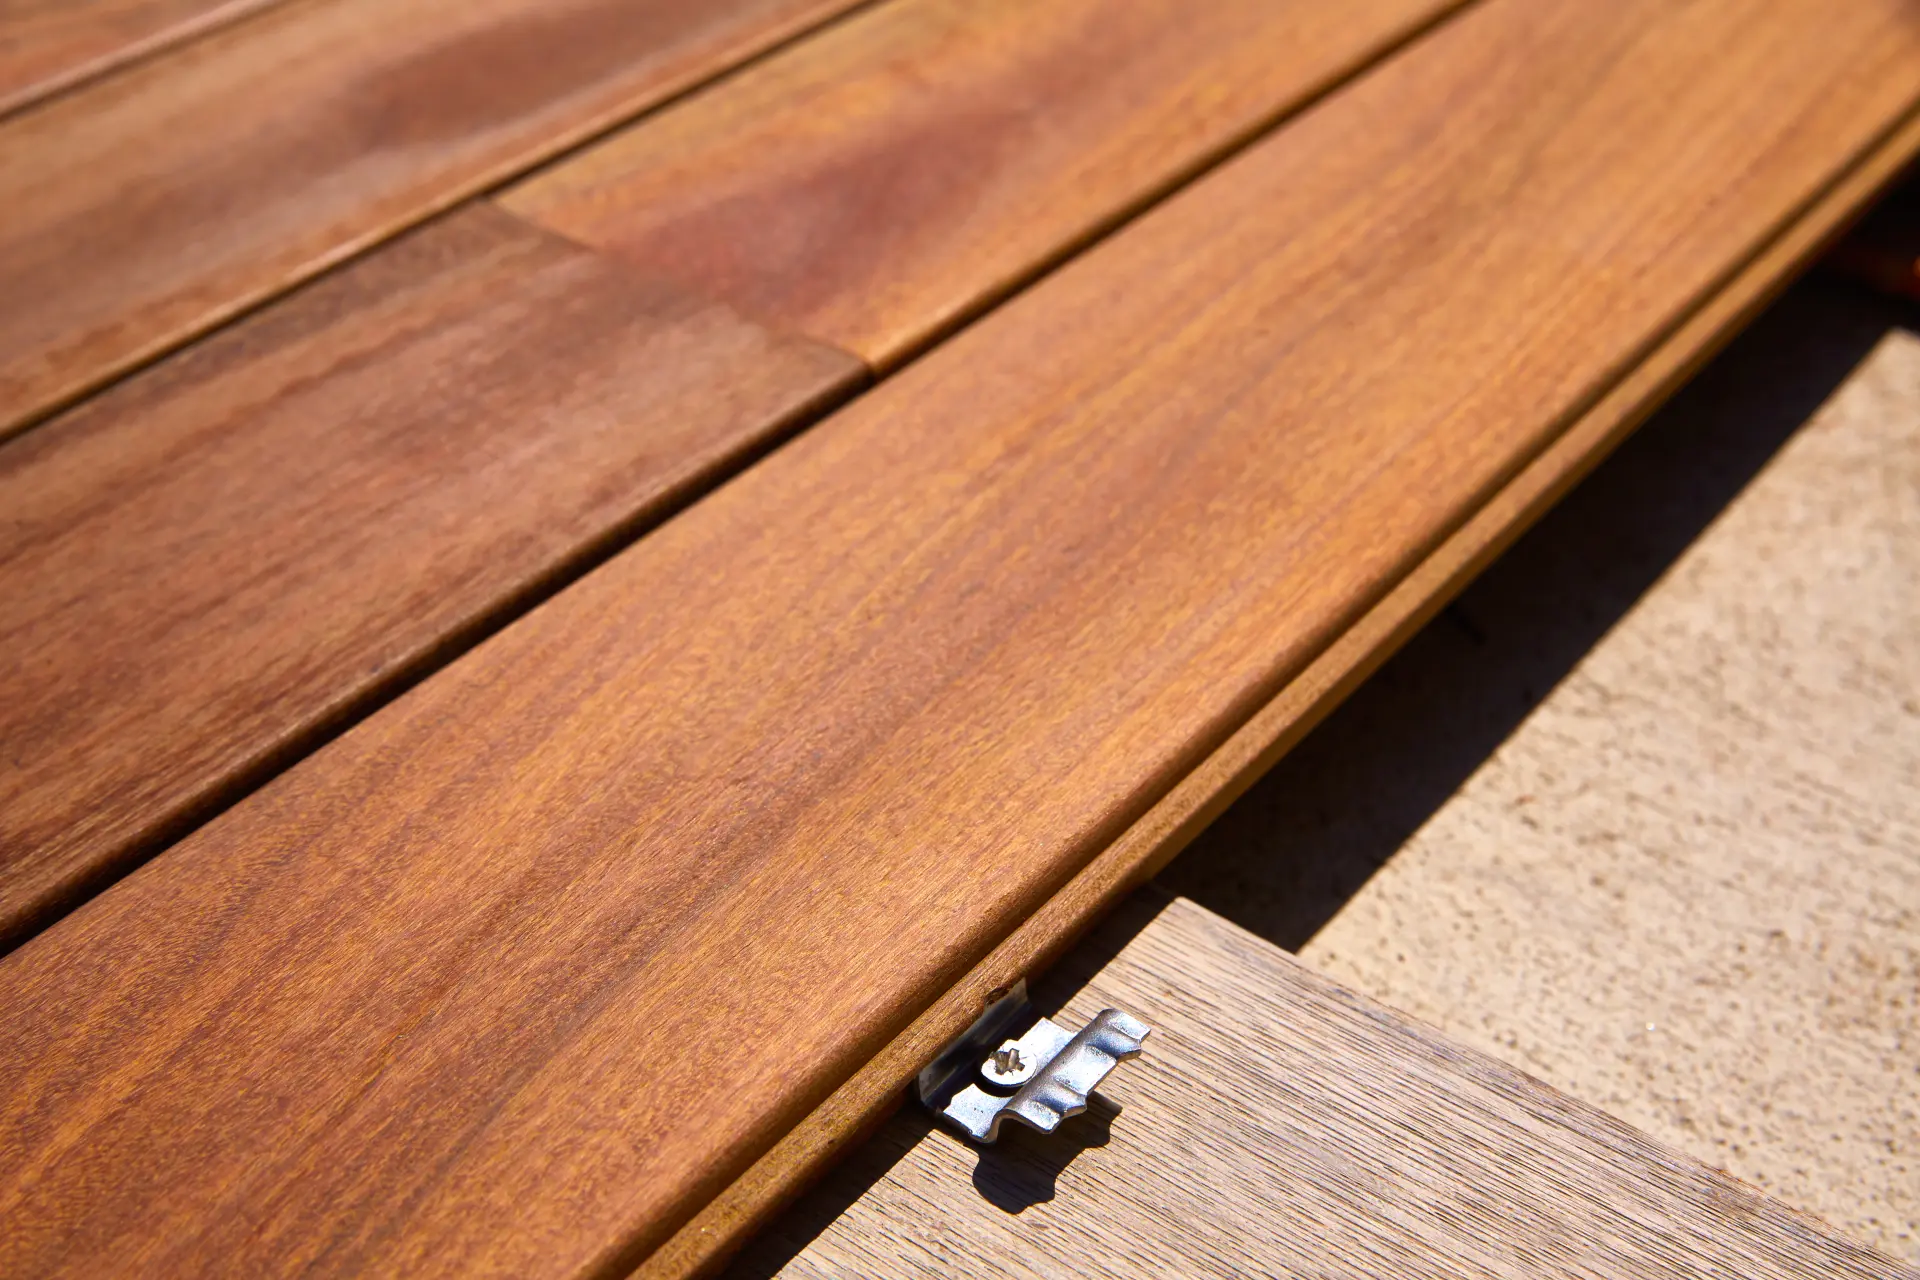
The new board should be placed in the same position and direction as the surrounding boards to ensure the decking has a uniform look. Additionally, there should be a 5-6 mm gap between the boards for drainage and ventilation. You should ideally use spacers or offcuts as guides to ensure the gaps along the length are consistent and equal. You should also check that the board sits flush against the joists and doesn't move or bend.
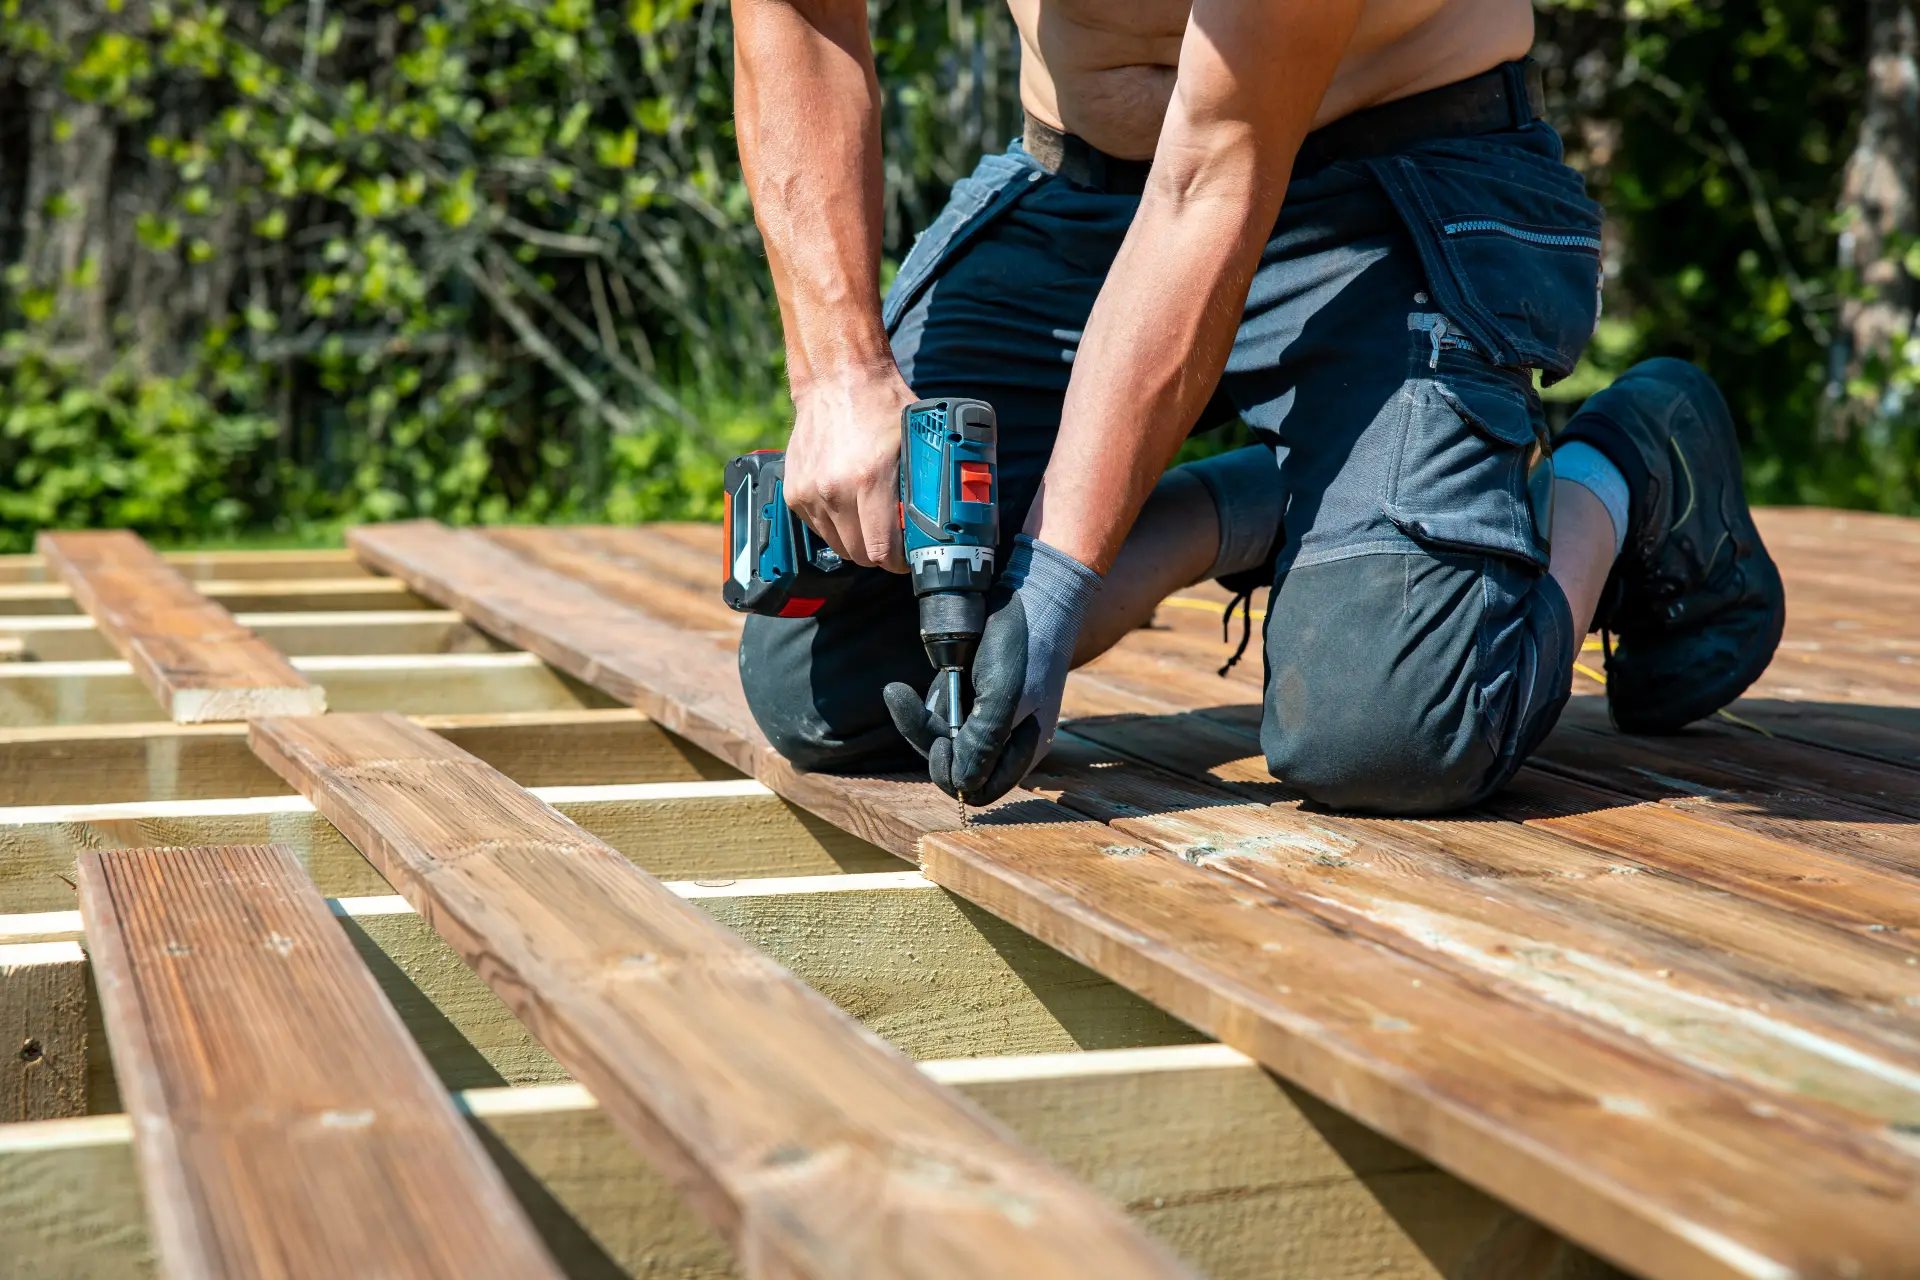
You should always use corrosion-resistant deck screws rather than nails, since screws don't loosen over time. Each point of the deck board should be fixed with two screws per joist that are positioned about 20-25 mm from each edge to prevent the wood from splitting.
Then, inspect along the deck's length to make sure the new board runs straight and aligns with the other boards. If the new board bows slightly, you can use a board straightening tool or clamp to bend it back into shape before it's fully installed.
Once the boards are secured, brush away any dust and offcuts and apply a coat of decking oil or stain so that the new board matches the surrounding decking.
At Welcroft Lee Logistics, we can repair warped boards, loose railings, sagging decking, and treat rotted decking. We constantly use durable and weatherproof materials to help keep your decking strong and beautiful all year round. From minor fixes to full replacements, we can keep your deck safe and durable. Find out more about decking repair in Eastbourne, Brighton & Hastings.